How to Fix the 10 Most Common Home Problems Yourself (Under 2 Hours Each)
Every home accumulates a list. The dripping faucet you’ve been ignoring for three months. The running toilet that adds $15 to every water bill. The interior door that sticks in summer. The squeaky floorboard that wakes up the house.
None of these problems is particularly difficult to fix. Most require under an hour of actual work, cost under $30 in parts, and the information to do them correctly is freely available. The reason they go unfixed for months is not complexity — it’s activation energy. Once you understand what’s actually happening inside a leaky faucet or a running toilet, the repair becomes obvious.
This guide gives you that understanding for the ten most common home maintenance problems, along with precise instructions for fixing each one.
Problem 1: Dripping Faucet ($5–$20, 30–60 minutes)
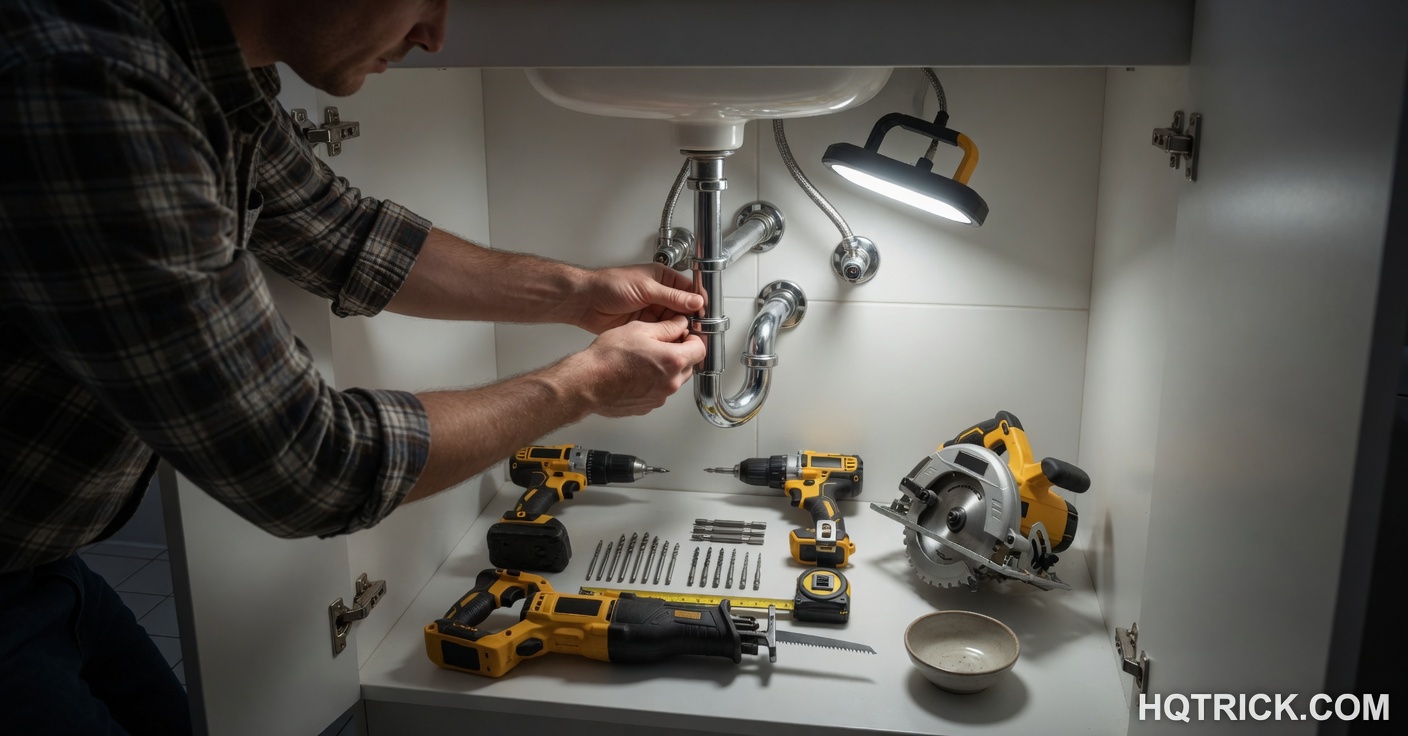
A faucet drips because a component inside the valve is worn and no longer sealing completely when the handle is in the off position. The specific component depends on faucet type.
Compression faucets (the kind with separate hot and cold handles that you physically push down to close): The rubber washer at the bottom of the stem is worn. Turn off the water supply valves under the sink, disassemble the handle, unscrew the packing nut, remove the stem, and replace the rubber washer at the bottom. Reassemble in reverse order. Cost: $2 for a washer pack.
Ball faucets (single handle that rotates over a ball-shaped cap): Usually multiple worn parts — the spring and seat underneath the ball. Buy a repair kit ($10–$18) specific to your faucet’s brand. The kit replaces all the components that commonly wear together.
Cartridge faucets (single or double handle with a cartridge inside): The cartridge is worn or damaged. Remove the handle, extract the cartridge (most pull straight up), bring it to a hardware store to match it, and install the replacement. Cost: $8–$25 for the cartridge.
Problem 2: Running Toilet ($5–$25, 30–45 minutes)
A toilet that runs continuously after flushing — or starts running randomly — is almost always one of three things:
Flapper: The rubber flap at the bottom of the tank that covers the flush valve. When it doesn’t seat properly (due to wear, mineral deposits, or warping), water slowly leaks from tank to bowl. Replacement cost: $5–$8. Universally simple to swap — hook off, hook on.
Fill valve: The mechanism that refills the tank after flushing. When worn, it doesn’t shut off completely. Replacement fill valves cost $10–$18 and include installation instructions. Shut off the supply valve, flush to empty the tank, disconnect the supply line, unscrew the locknut under the tank, and drop in the new valve.
Float height: Sometimes the float (the ball or cup that rides on top of the water) is set too high, causing water to overflow into the overflow tube continuously. Adjust the float arm or set screw until the water line sits ½–1 inch below the top of the overflow tube.
Problem 3: Sticking Interior Door ($0–$15, 30–90 minutes)
Doors stick for two reasons: humidity swelling the wood in summer (usually solves itself in winter), or a shift in the door frame from settling.
For swelling: Mark where the door is sticking with a pencil — you’ll see a wear line on the paint. Remove the door from its hinges (drive out the hinge pins from the bottom up). Sand or plane the marked area. Rehang, test, repeat. Prime and paint the exposed wood to prevent future moisture absorption.
For settled frame: Often the hinges have loosened. Tighten all hinge screws. If screw holes are stripped (screws spin without tightening), fill them: remove the screw, pack the hole with wooden toothpicks and wood glue, allow to dry, re-drive the screw. The wood fills the hole and gives the screw something to bite.
Problem 4: Squeaky Floor ($5–$30, 30–60 minutes)
Squeaks happen when floorboards or subfloor panels rub against each other or against fasteners. The fix depends on whether you have access from below.
From above (finished floor): Drive 2-inch wood screws at an angle through the finish floor into the subfloor at the squeak location. Countersink, fill with wood filler, sand flush, touch up finish. For hardwood floors without underfloor access: specialty kits (Squeak-Ender, O’Berry Enterprises) use screws driven from above that snap off flush.
From below (accessible basement or crawl space): Much easier. Have someone walk above while you listen from below. Find the flex point. Drive a screw up through the subfloor into the finish floor — but carefully measure the total floor thickness first so the screw doesn’t penetrate through the top.
Problem 5: Clogged Drain ($10–$30, 15–45 minutes)
Bathroom sink: Almost always hair and soap buildup in the drain stopper mechanism. Remove the stopper (usually unscrews or lifts out), clean it thoroughly, use a drain snake to clear any further buildup. Avoid chemical drain cleaners — they damage pipes over time.
Shower drain: Same cause, easier access. Remove the drain cover, reach in or use a drain snake. A $15 plastic drain snake (Zip-It is a popular brand) clears 90% of shower drain clogs in under 5 minutes.
Kitchen sink: Food and grease buildup, sometimes further down the P-trap. Start with a plunger (different technique than a toilet — create a flat seal and pump horizontally). If that fails, place a bucket under the P-trap, unscrew it (usually no tools needed for plastic traps), clean it, and reinstall.
Problem 6: Damaged Drywall ($15–$40, 2–3 hours including dry time)
Small holes (under 4 inches): Lightweight spackling compound ($8) applied with a putty knife, smoothed, allowed to dry, sanded flush, primed, painted. For slightly larger holes, a self-adhesive mesh patch applied first, then compound over it.
Large holes (4+ inches): Cut a clean square around the damage. Cut a backer piece and a patch piece from drywall. Secure the backer, screw the patch to it, tape the seams, apply joint compound in two thin coats (allowing each to dry completely), sand, prime, paint.
The most common mistake in drywall repair: not priming before painting. Unprimed patched areas absorb paint differently than the surrounding wall and show as flat spots even with matching paint.
Problem 7: Caulk Failure at Tub/Shower ($15–$30, 2–3 hours including cure time)
Remove all old caulk first — this is the step people skip, and it’s the reason new caulk fails quickly. Use a caulk removal tool ($7) and work carefully. Clean the surface with rubbing alcohol and allow it to dry completely.
Apply painter’s tape on both sides of the joint. Apply 100% silicone caulk (not siliconized latex — the full silicone holds up to water exposure far better) in a continuous bead. Smooth with a wet finger in one continuous stroke. Remove tape immediately before the caulk skins. Allow 24–48 hours before any water contact.
Problem 8: Running Bathroom Exhaust Fan ($0–$80, 1–2 hours)
Most under-performing bathroom fans have one problem: they’re clogged with lint and dust, reducing airflow to the point of uselessness. Remove the cover, vacuum the grille and motor, check that the duct is connected and not crushed (a crushed flex duct is common in attics and completely blocks airflow).
If the fan itself is genuinely inadequate, replacement is a straightforward project: cut power at the breaker, disconnect the wiring, remove the old unit, drop in the new one (same duct and electrical connection), reconnect. Cost: $25–$80 for a quality replacement fan.
Problem 9: Loose Cabinet Hinges ($5, 15 minutes)
Cabinet doors that sag or don’t close properly are almost always a hinge adjustment or a stripped screw hole. For European cup hinges (the type with a round cup that sits in a hole in the door), small adjustment screws allow lateral and vertical positioning without tools beyond a Phillips screwdriver.
For stripped screw holes in the cabinet box: toothpick-and-glue method works here too. Remove the hinge, fill the hole with toothpicks and wood glue, allow to dry, re-drive the hinge screws.
Problem 10: Exterior Door Weatherstripping ($15–$40, 30–60 minutes)
Weatherstripping on exterior doors degrades with UV exposure and compression over time, and gaps allow cold air infiltration in winter and hot air in summer. Replacing it is one of the fastest home efficiency improvements available.
Measure the door perimeter, buy foam/vinyl weatherstripping slightly longer than needed. Remove all old weatherstripping. Cut the new strips to fit. Most peel-and-stick weatherstripping is self-adhesive — clean the surface first and apply at room temperature for best adhesion. For the door threshold (the bottom seal), a door sweep adhesive-mounted to the door bottom seals the gap without requiring threshold replacement.