
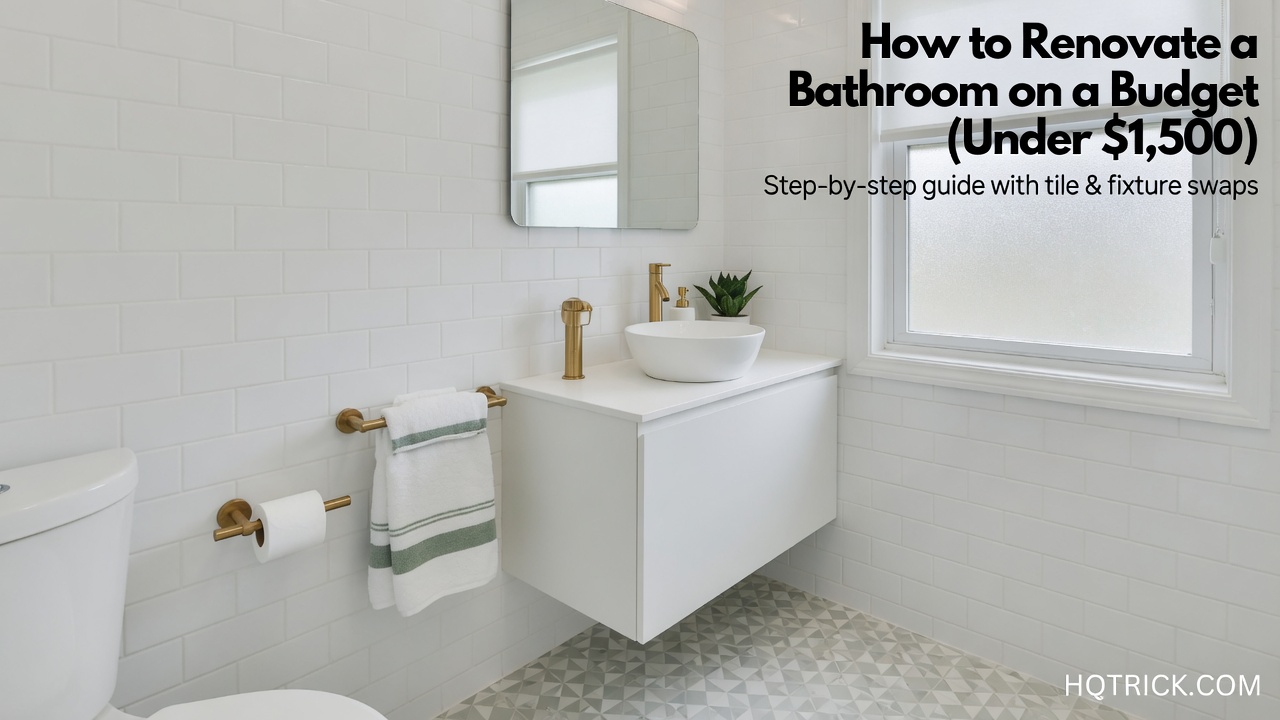
How to Renovate a Bathroom on a Budget (Under $1,500)
Bathrooms occupy a disproportionate amount of mental real estate in how people experience their homes. You start and end every day in one. Guests notice them. Buyers scrutinize them. And yet a full bathroom remodel is one of the most consistently expensive home improvement projects — averaging $6,000 to $15,000 for a standard full bath.
The assumption that a meaningful bathroom improvement requires that level of spend is wrong. This guide is organized around the specific moves that transform a bathroom’s appearance without touching its most expensive elements: the plumbing rough-in, the subfloor, or the layout.
Under $1,500, done correctly, produces a bathroom that reads as a $5,000–$7,000 renovation to most observers.
The Bathroom ROI Principle
Like kitchens, bathroom renovation dollars are not created equal. There is a hierarchy of impact:
Top tier (highest visual impact per dollar): Lighting, vanity, mirror, fixtures (faucet, towel bars, toilet paper holder, hooks)
Second tier (high impact, higher cost): Vanity top/sink, tile (floor or shower accent), paint
Third tier (high cost, moderate visible impact): Full tile replacement, tub surrounds, toilet
Avoid in a budget refresh: Moving any plumbing, expanding the footprint, full gut renovation
A $1,500 budget, allocated strategically across the top two tiers, produces dramatic results. The same $1,500 spent on a new toilet and full tile replacement produces results that are barely visible.
The $1,500 Bathroom Transformation Plan
Step 1: Vanity Light Replacement ($60–$180)
This single change has more visual impact on a bathroom than almost any other upgrade at any price point. The standard builder bar light — that chrome fixture with three or four globe bulbs above every bathroom mirror — is universally recognized as dated and is always the first thing design-forward buyers notice.
Replacement options by budget:
- Under $100: Matte black or brushed nickel bar lights from Home Depot or Amazon. Look for integrated LED versions — they last longer and produce better light quality.
- $100–$180: Vertical sconces mounted on either side of the mirror rather than above it. Side mounting eliminates the shadowing that overhead vanity lights produce on faces, which is both more flattering and more functional.
Swapping a vanity fixture is one of the most achievable DIY electrical tasks: turn off the breaker, disconnect three wires (black, white, ground), connect the new fixture to the same wires, restore power. Total time: 45–60 minutes.
Step 2: Mirror Replacement ($40–$200)
The standard builder mirror — the frameless rectangle glued directly to the drywall — reads as an afterthought. Replacing it costs very little and dramatically changes the bathroom’s character.
Options:
- Framed mirror: A framed mirror in the same finish as your new light fixtures creates visual cohesion. $40–$100 from home stores.
- LED backlit mirror: These have dropped in price considerably and now start around $80 for smaller sizes. The even backlighting eliminates shadows entirely and gives a spa-like quality to the space.
- Arched or irregular shape: A round mirror, an arched mirror, or a frameless oval adds a designed quality that contrasts pleasingly with the angular geometry of most bathrooms.
Step 3: Faucet and Hardware Replacement ($100–$300 total)
Replacing the sink faucet, towel bar, toilet paper holder, and robe hook as a matched set in the same finish creates a unified, intentional look that reads as a professional design decision rather than an accumulation of random purchases.
The finish you choose should match your new light fixture. If you went matte black for the light, go matte black for hardware. This consistency is the detail that separates “updated” from “renovated.”
Faucet replacement is a plumbing task but not a complex one: turn off the supply valves under the sink, disconnect supply lines, remove the old faucet, install the new one, reconnect supply lines, turn the water back on slowly. Watch for leaks. Total time: 60–90 minutes.
Step 4: Paint ($40–$80)
Bathroom paint deserves a specific note: use paint with a built-in mildewcide and at least a satin finish. Flat paint in bathrooms absorbs moisture and develops mildew along grout lines and in corners within a year. Any paint labeled for kitchens and baths handles the humidity.
Color choices: Bathrooms respond well to both very light colors (which read as spa-like and airy) and strong accent colors (navy, deep green, terracotta) on a single wall or a half-wall below a chair rail.
The specific area that benefits most from fresh paint: the ceiling. Bathroom ceilings yellow with steam and moisture faster than any other surface. A fresh bright white ceiling raises the perceived height and cleanliness of the room immediately.
Step 5: Vanity Replacement (Optional, $200–$500)
If your budget allows, a new vanity is the single highest-impact upgrade for a bathroom refresh. The reason: the vanity is both the dominant furniture piece and the surface with the most contact use in a bathroom — which means damage accumulates there first.
Vanity replacement is a larger project (disconnecting plumbing, removing the old unit, installing the new one) but achievable for a confident DIYer over a full day. Freestanding vanities are easier to install than built-in ones; floating vanities require securing to wall studs but make small bathrooms appear significantly larger.
Budget vanity sources: Home Depot and Lowe’s stock quality vanities at $200–$500. IKEA’s GODMORGON system is a mid-century modern option at $300–$500 that photographs beautifully. Wayfair has the widest selection.
Step 6: Shower and Tub Refresh ($30–$150)
Without retiling (which is expensive and time-consuming), you can meaningfully improve a shower’s appearance through:
Recaulking: Remove all existing caulk between tile and tub/floor. Apply fresh mold-resistant silicone. Time: 2–3 hours plus drying. Cost: $20–$30. Effect: Makes a decade-old shower look freshly installed.
Grout pen touch-up: A grout pen in bright white re-colors discolored grout lines without the effort of re-grouting. Cost: $8–$15 per pen. Time: 30–60 minutes for an average shower.
Shower hardware swap: If your shower head, shower arm, and valve trim are dated or damaged, replacing the visible components (without touching the valve body in the wall) runs $40–$120 in parts and about an hour of work.
The Final Layer: Staging
The last $50–$100 of a bathroom renovation budget should go to staging elements that photograph beautifully and create a hotel-like impression in daily use:
- A rolled stack of matching white or neutral towels
- A simple tray holding a candle, small plant, and hand soap
- A bamboo bath mat
- One piece of framed art or a small print
These cost almost nothing, take 30 minutes to arrange, and change the emotional quality of the space. A bathroom with the right accessories feels finished. A bathroom without them, even one with nice fixtures, feels halfway done.